Instructions & Brew Guide for Roasters’ Cup Taste & Test
What You Need To Do:
- Firstly, check your kit to make sure you’ve received everything you need to conduct the tasting.
- Read the overview of The Roasters’ Cup to understand the project & what these coffees offer.
- Read the brew guides & tasting notes, to understand the best way to brew the coffee & the expected flavour profiles.
- Read the instructions for giving feedback both via video & survey (below).
- Book in for an online session to meet the team & ask any questions you might have about how to conduct the tasting.
- Set up your gear & start brewing and tasting.
- Please complete and send your surveys/videos by Friday, 4th March 2022.
- Once received, we’ll send out the thank you gift.
What You Will Need:
1 x 200gm Honduras Single Origin Coffee – Whole bean
1 x 200gm Papua New Guinea Single Origin Coffee – Whole bean
1 x The Roasters’ Cup Overview & Research Instructions
1 x Brew Guide (Espresso/Plunger) & Tasting Notes – Honduras Single Origin Coffee
1 x Brew Guide (Espresso/Plunger) & Tasting Notes – Papa New Guinea Single Origin Coffee
1 x Espresso machine
1 x Coffee Grinder
1 x Coffee Plunger or Filter
1 x Digital Scale/Scale
Some Milk (if needed)
The Surveys:
There are five short surveys. The first is a GENERAL survey about you & coffee and your overall impression of The Roasters’ Cup project. Then there is a TASTE survey for each of the coffees & formats.
Make sure you match the coffee with the corresponding survey, then answer the questions.
The links to the surveys are in the main email or you can click here.
- General Questionare
- Honduras – Plunger
- Honduras – Espresso
- Papua New Guinea – Plunger
- Papua New Guinea -Espresso
Video Instructions:
-
Please film a short video of yourself tasting each coffee in both brew formats (plunger & espresso). There should be four videos in total. 10-30 seconds in length only. Please say the name of the coffee & the format at the beginning of each video.
-
Taste the coffee, and in your own words, describe the drinking experience; how the coffee feels in your mouth, the aromas, flavours and whether the taste lasts in your mouth. If you aren’t comfortable, your face doesn’t need to be in the video. Just show us your brew set up & we definitely need to hear your commentary.
-
Do a test recording to ensure that the sound is audible & don’t forget to press record when your ready to shoot the real footage.
- When you are ready to submit your 4 videos click the Video Submission button located on the most recent L’affare email (Taste & Test Roasters’ Cup – All you need to know!) and upload to online, or you can click here. If you would prefer to Facebook Messenger your videos you can do so via the Facebook L’affare Page.
The Roasters’ Cup Range
What is the Roasters’ Cup?
Our Roasters are obsessed with coffee, they meticulously select green beans, sourced from some of the world’s most intriguing plantations. Then, through trial and experimentation, they work to find the perfect roast profile, drawing out the bean’s true character and flavour. The result is a sensory experience, distinctive, delicious, and uniquely rewarding for lovers of specialty coffee.
Each release is one of a kind, small parcel, limited edition coffee. 85+ quality graded coffee beans by roasting experts, so classified as true specialty grade coffee.
Where can I buy them: You’ll find them at the grocery store.
The Price: $12 per 200gs and discounted to $11/10 per 200gs.

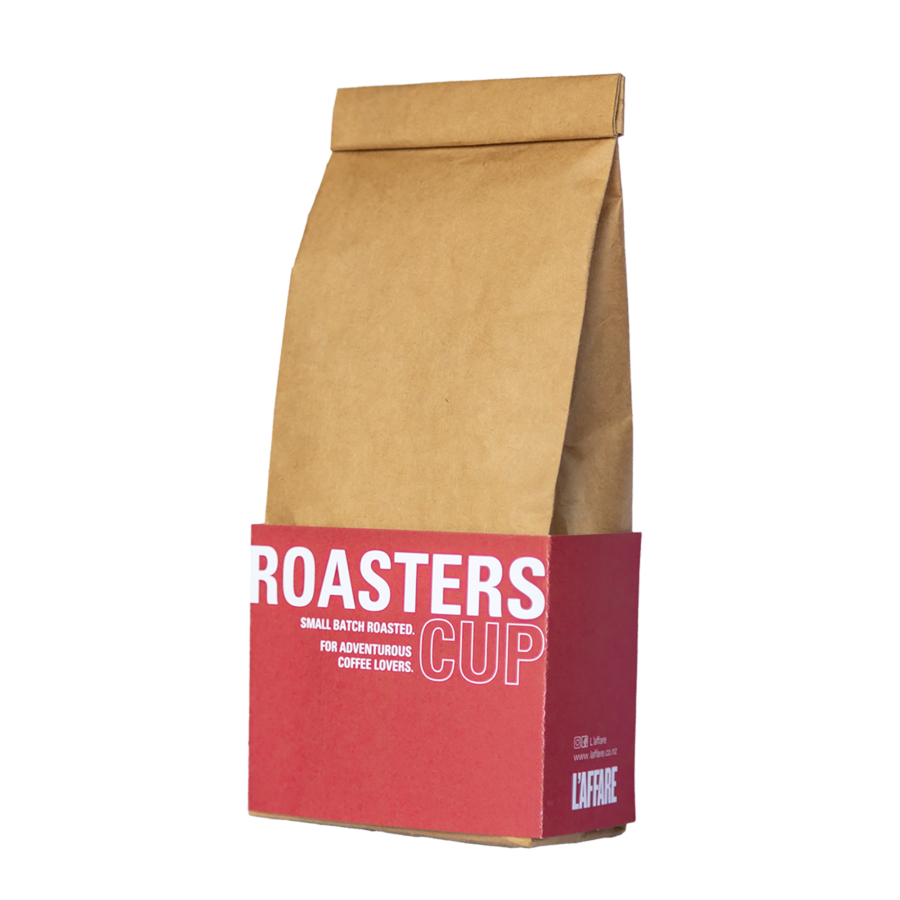
This is what we think the Roasters’ Cup will look like when you see it on the shelf.

Brew Guide
Roasters’ Cup, Papua New Guinea – Lamari Wash
This coffee is from the Obura-Wonenara District in the Eastern Highlands of Papua New Guinea. The small group of artisan farmers within the Lamari River Valley grow, process, and dry their coffee before delivering them to the collection station at the partner coffee mill. The quality of this coffee is a direct result of years of work, as these small producers relentlessly refine their picking, pulping, sorting, fermentation, and drying practices.
| Process: | Washed |
| Varietal: | Arusha, Blue Mountain, Bourbon, Typica |
| Altitude: | 1700 – 2000 MSL |
Coffee: 18gm | Water: 300ml | Time: 4 min
- Heat your water. You’re looking for an ideal temperature of 93°C. If using your jug, allow it to cool for a couple of minutes after boiling
- Pre warm the base of your plunger or carafe by gently pouring some boiling water into the carafe and swirl it around so the glass heats a little. Remove this water from the carafe
- Weigh and grind the coffee beans; 18gm. Ground coffee should have the consistency of sea salt or use the plunger/coarse grind setting of your grinder
- Add the ground coffee into the base of the carafe
- Pour 300mls of water over the coffee and ensure that all the coffee is wet
- Start a timer on your phone for 3 minutes
- After 3 minutes give the coffee a gentle stir with a spoon to agitate the coffee and allow the grinds to fall to the bottom
- Place the plunger over the surface of the coffee & leave to brew for 1 more minute (set your timer)
- At 4 minutes the brewing is complete, and you can slowly plunge the coffee
- Immediately decant the coffee from the plunger into a cup, allow the coffee to further cool for another minute and taste!
- If you are interested – wait another 3 minutes to taste the coffee warm and then let the coffee cool and taste again. This way you can experience the way that the flavour of the coffee changes as it cools
Here is what you can expect in terms of flavours & aromas when you first taste the coffee, and as the coffee cools. The flavour and aromas are also different if you drink the coffee with milk.
Hot – This coffee should have a raisin like sweetness and a lingering dark chocolate finish. The acidity is crisp like green grapes and the body is light
Warm – The acidity begins to sweeten like a ripe red grape. The sweet raisin flavour becomes more prevalent, and a gentle mixed spice flavour begins to appear. The dark chocolate finish softens with subtle bitterness. The body becomes rounded and smooth
Cool – The acidity crisps up like green grape, but the sweetness elevates, spiced raisin and chocolate throughout. The bitterness becomes drying more like cocoa or black tea
With milk – The experience is very similar, but the milk adds a sweetness to the dark chocolate and is more of a milk chocolate with little to no lingering bitterness on the finish
Overall – To sum up, you’d describe this coffee as a Sultana Pastie biscuit
Coffee: 20gm (Fine Ground) | Coffee Out: 30ml | Extraction Time: 34 sec
Prepare your espresso machine and equipment.
We recommend a 1:1.5 brew ratio with a slower extraction time to help elevate the body and control the sharp acidity.
Dial in a fine grind size so your extraction flows to the above recipe. Ideally you would weigh your coffee for accuracy, so digital scales would be an advantage. Place the 20gms of coffee in the group handle, tamp & insert as you normally would. You’ll may need to test a few shots to get the correct recipe ratio & volume of espresso.
Tip: If your shots are running too quickly you will need to make the grind finer. If the extraction is running too slowly you will need to make the grind coarser. Ensure your group head is purged and clean of old grinds before extraction.
Here is what you can expect in terms of flavours & aromas when you brew Espresso
Hot tip – Always stir your espresso top to bottom to mix the crema into the liquid before drinking.
Long Black – A crisp green grape acidity with sweet raisin flavour. A warm mixed spice undertone comes through onto the palate with a lingering bitter dark chocolate that leaves a pleasant drying aftertaste. The body is light but smooth to help create a well-balanced espresso experience.
Flat White – Serve as a flat white in 150ml cup using the above espresso recipe and blended with warmed steamed milk (120mls). The addition of milk brings an elevated level of milk chocolate flavours to the coffee. The sweetness of the raisin flavour is rounded, and the spice notes subdued.
Again, we’d describe this coffee as tasting like a Sultana Pastie biscuit.
Roasters’ Cup, Honduras – COMSA Natural
Located in the La Paz region of Honduras the COMSA (Café Organico Marcala Sociedad Anónima) co-operative of coffee farmers consists of over 1,500 small holder members. Since forming, its mission has been to improve the livelihoods and environment of its members and their communities by producing the highest quality, sustainable, organic coffee.
This is a Natural processed coffee, which means that the coffee beans have been dried as a whole coffee cherry (both the exterior fruit flesh and the coffee bean inside). This method allows for the coffee beans to absorb the sugars of the coffee cherry flesh as it dries producing a very sweet, fruit forward flavoured coffee.
| Process: | Natural |
| Varietal: | Bourbon, Typica, Catuai |
| Altitude: | 1200 – 1600 MSL |
Coffee: 18gm | Water: 300ml | Time: 4.5 min
- Heat your water. You’re looking for an ideal temperature of 93°C. If using your jug, allow it to cool for a couple of minutes after boiling
- Pre warm the base of your plunger or carafe. Pour some hot water (from your tap) into the carafe and swirl it around so the glass heats a little. Remove this water from the carafe
- Weigh and grind the coffee beans; 18gm. Ground coffee should have the consistency of sea salt or use the plunger/coarse grind setting of your grinder
- Add the ground coffee into the base of the carafe
- Pour 40mls of hot water over the coffee, give this a gentle swirl to get the coffee wet and allow the coffee to ‘bloom’ for 30 seconds – The bloom will release more of the aromatics in this coffee
- Add the remaining water, 260ml
- Start a timer on your phone for 3 minutes
- After 3 minutes give the coffee a gentle stir with a spoon to agitate the coffee
- Place the lid/plunger over the surface of the coffee & leave to brew for 1 more minute (set your timer)
- At 4 minutes the brewing is complete, and you can slowly plunge the coffee
- Immediately decant the coffee from the plunger into a cup, allow the coffee to further cool for another minute and taste! Don’t forget to record your thoughts
- If you are interested – wait another 3 minutes to taste the coffee warm and then let the coffee cool and taste again. This way you can experience the way that the flavour of the coffee changes as it cools
Here is what you can expect in terms of flavours & aromas when you first taste the coffee, and as the coffee cools. The flavour & aromas are also different if you drink the coffee with milk.
Hot – This coffee should have a strong greengage plum sweetness with a hint of port and a lingering sweet, dark chocolate finish. The acidity is juicy like a ripe strawberry. The body will be full and a little rough.
Warm – The plum and port flavours will intensify, and the dark chocolate aftertaste will sweeten. The acidity shows complexity as the temperature shifts and the body thickens and smooths out to become creamy and mouth coating.
Cool – The acidity softens, but the sweetness becomes intense creating a ‘boozy’ note to the port flavour. The dark chocolate after taste lingers and leaves you wanting a second cup.
With Milk – The experience is different, the sweetness of milk mixed with the fruity/boozy nature of the coffee gives a vanilla custard note. Sweet and lingering milk chocolate to finish.
Overall – Sweet and intense. A very complex coffee that shifts throughout the temperature range.
Coffee In: 20gm | Espresso out: 45ml | Extraction Time: 30 sec | Brew Ratio: 1: 2.25
Prepare your espresso machine and equipment.
We recommend a 1: 2.25 brew ratio with a slower extraction time to help elevate the body and control the sharp acidity.
Dial in a fine grind size so your extraction flows to the above recipe. Ideally you would weigh your coffee for accuracy, so digital scales would be an advantage. Place the 20gms of coffee in the group handle, tamp & insert as you normally would. You’ll may need to test a few shots to get the correct recipe ratio & volume of espresso.
Tip: If your shots are running too quickly you will need to make the grind finer. If the extraction is running too slowly you will need to make the grind coarser. Ensure your group head is purged and clean of old grinds before extraction.
Here is what you can expect in terms of flavours & aromas when you brew Espresso
Hot tip – Extract the espresso into a cold espresso cup to cool the beverage slightly before tasting.
Long Black – A bright blackcurrant acidity hits the palate upfront before a sweet plum flavor with a port undertone carries through into a short dark chocolate finish. The body is velvet smooth.
Flat White – Serve as a flat white in 150ml cup using the above espresso recipe and blended with warmed steamed milk (105mls). The addition of milk brings down the acidity and sweetens the plum flavour. The milk carries the coffee with a flavour of vanilla shortbread biscuit with a hint of plum but still finishes with a dark chocolate aftertaste.
Overall – This coffee is exciting black as it shows a high level of complexity, some of this complexity is lost when served with milk.